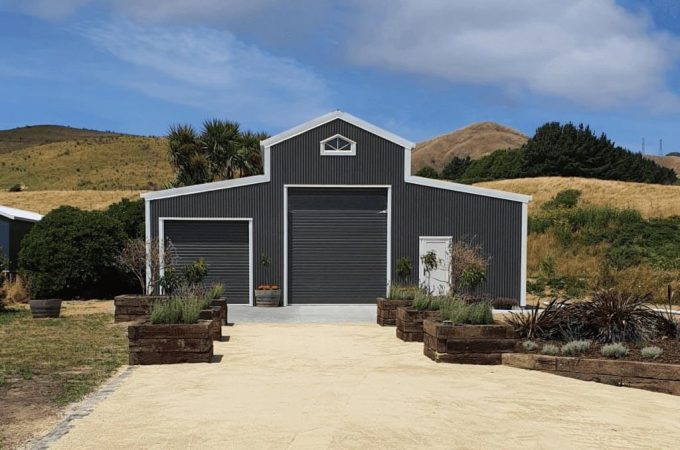
Concrete Driveways At Home Using 7 Simple Techniques
Want to build concrete driveways at your home for your garage? You can build it yourself without having prior experience, justfollow the simple steps mentioned below and build your own driveway like a professional mason.
Go through the below given points for a general idea.
Making the concrete for your driveway
The first part is to make the concrete for your driveway. There are many types of concrete as you might know. So what are the proportions of sand and cement that should be used for making concrete driveways at your home?
Ideally, you should mix three parts sand with one part cement. Use water adequately so that the concrete is not too viscous.
Pouring concrete
Now when it comes to pouring concrete, you have to make a boundary over the entire region on which you will be pouring the concrete by using wooden stakes. These will help the concrete to settle down easily and bind together well with the gravel.
Now, once this is done you can start pouring concrete over the entire region. Make sure to start from one end and gradually pouring concrete evenly over the specific place. Once the concrete is poured you have to use a shovel to make sure it is placed evenly.
Strike the concrete layer to ensure tight binding with the gravel
Once the concrete is poured evenly over the concrete driveways you have to start striking the concrete using a flat end shovel. This will ensure that all the air gaps in the concrete are removed and it tightly binds to the surface. Remember the striking should be even on all the places so that there are no air gaps remaining inside the concrete.
Smoothening the top surface
Once the concrete striking is done on a region of the of your driveway, make sure to smoothen the top layer of the concrete. This is especially important because you don’t want the top surface to be uneven. Smooth concrete driveways are present on the top surface which is smooth and there is no chance of tripping over the cracks.
For smoothening the top surface, you can use trowels. This is the best handy tool used to give the final smoothening touches to a layer of poured concrete.
Making the sides smoother
When you are making the sides of the driveways, focus on making the edges smoother. This will ensure that there are no chances of the concrete slab chipping or cracking from the sides. Often it is seen that the concrete driveways with stiff cornered edges start to chip off or fall cracks inside which go deeper and deeper and affect most areas of the driveway. To prevent this, it is recommended to smoothen the edges.
Use dividers to cut short the task
You can divide the entire region into small square-like shapes using wooden stakes. This will ensure that the concrete driveways can sustain longer out in the open and can become highly weather resistant. How many times have you seen large concrete blocks developing signs of chipping or cracking earlier?
When you divide the entire region into small sections, your task becomes easier, and this type of driveway is much better in terms of sustainability.
Drying the concrete
Once all the above tasks are done, it should be allowed to rest for at least 3-4 days. This will ensure that the concrete binds itself to the surface well. Use wet pieces of cloth to cover the entire surface and water it regularly to ensure the cement does not crack early due to drying up in the excessive heat.


