The Best Gutter Installation Tools and Techniques
Understanding the basic procedure and the whereabouts of your drainage system is extremely important. Therefore, when you are thinking about installing a gutter, you should know exactly how it’s done and how you should plan the installation process. You should have enough clarity about the materials involved and you should have the prerequisites of getting the job done. So, when you are thinking about installing a gutter, make sure that you have done an ample amount of research about the topic so that you are aware of the basic dos’ and don’ts of the same.
Tools required for installing gutter
Having an understanding of the tools and techniques that must be utilized to fulfill the objective is also critical. Gaining knowledge about these aspects will help to install gutter in no time. Once you are done with this, you can enjoy productive drainage service and ensure that you don’t face any difficulty in the future. The equipment required to meet gutter installation can be very basic and something that you can get easily. The basic tools that you may require to undergo the entire procedure may be:

- Cordless drill
- Crimper
- Extension ladder
- Hex head driver
- Offset tin snips
- Pop rivet gun
- Gutter
- Head screws
- Medium length rivets
- Down sprouts
- Elbows
- Gutter sealant
- Gutter flashing
- Gutter hanging strap
Steps to install gutter
To install a gutter in your place, you should plan it out first. Once that you have the equipment, other things can be organized consequently to give rise to a prominent drainage system. Assessing the plan of your house and enlisting your requirements will play a very big role in what you want to achieve and therefore you can easily get it done.
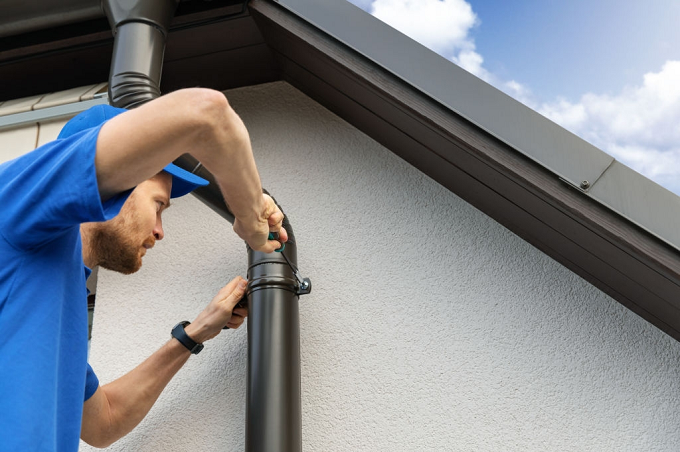
#1. Measure your house and plan it well: Begin the entire process by measuring your house and thereby selecting the size of the various gutter accessories that you will need to fulfill the task. This will ensure that you don’t fail while installing a gutter in your apartment. Therefore, it serves as a good head start and lays a foundation upon which the drainage system can be established.
#2. Cut and join the gutter: The next step involves cutting the gutter into an appropriate size according to the measurement recorded. You can easily join the gutter in the required location and get on with the other steps of the procedure. Make sure that the size is exactly appropriate to what you have calculated. If an individual fails to implement and adjust the gutter size as per the measurement then a fresh system has to be purchased. So may attention when you cut the gutter according to the measurement.
#3. Add downspouts and outlets: When it comes to downspouts and outlets, you have to be very calculative about their location and you have to ensure that it is very well thought and very strategically planned to manage wastewater efficiently. You can add a little downslope to ease the exit of drainage water as well. This way, you can easily ensure that your gutter is almost on the verge of completion. Make sure that the outlets are carefully placed.
#4. Finish with hangers and flashing: You can use the hangers and flashing to finish your work. You can install them easily to significantly improve your experience. This will also prove helpful in the later years as it enhances the durability feature of the gutter installed.
These are some of the most useful tools that should be utilized to install a new gutter system from scratch effectively.

